
Introduction to PVI IPTV Encoder Setup
If you’re looking to build or optimize an IPTV system, mastering PVI IPTV encoder setup is essential. Whether you’re a beginner or a professional, setting up your encoder correctly ensures smooth streaming, high-quality video output, and reliable delivery across networks.
In simple terms, a PVI IPTV encoder takes video input (like HDMI, SDI, or analog signals) and converts it into a digital format suitable for streaming over the internet or local networks. With the right configuration, you can broadcast live TV, on-demand content, or private streams efficiently.
This guide will walk you through everything you need—from basics to advanced optimization—so you can get your IPTV system running like a pro.
What Is a PVI IPTV Encoder?
A PVI IPTV encoder is a device or software solution designed to:
- Capture video input from a source
- Compress it using codecs like H.264 or H.265
- Convert it into IP streams (e.g., RTMP, HLS, UDP)
- Deliver it to IPTV platforms, servers, or users
Why Proper Encoder Setup Matters
A well-configured encoder ensures:
- High-quality video streaming
- Minimal buffering and latency
- Efficient bandwidth usage
- Compatibility with IPTV players and platforms
Key Components of PVI IPTV Encoder Setup
Before diving into the setup process, it’s important to understand the main elements involved.
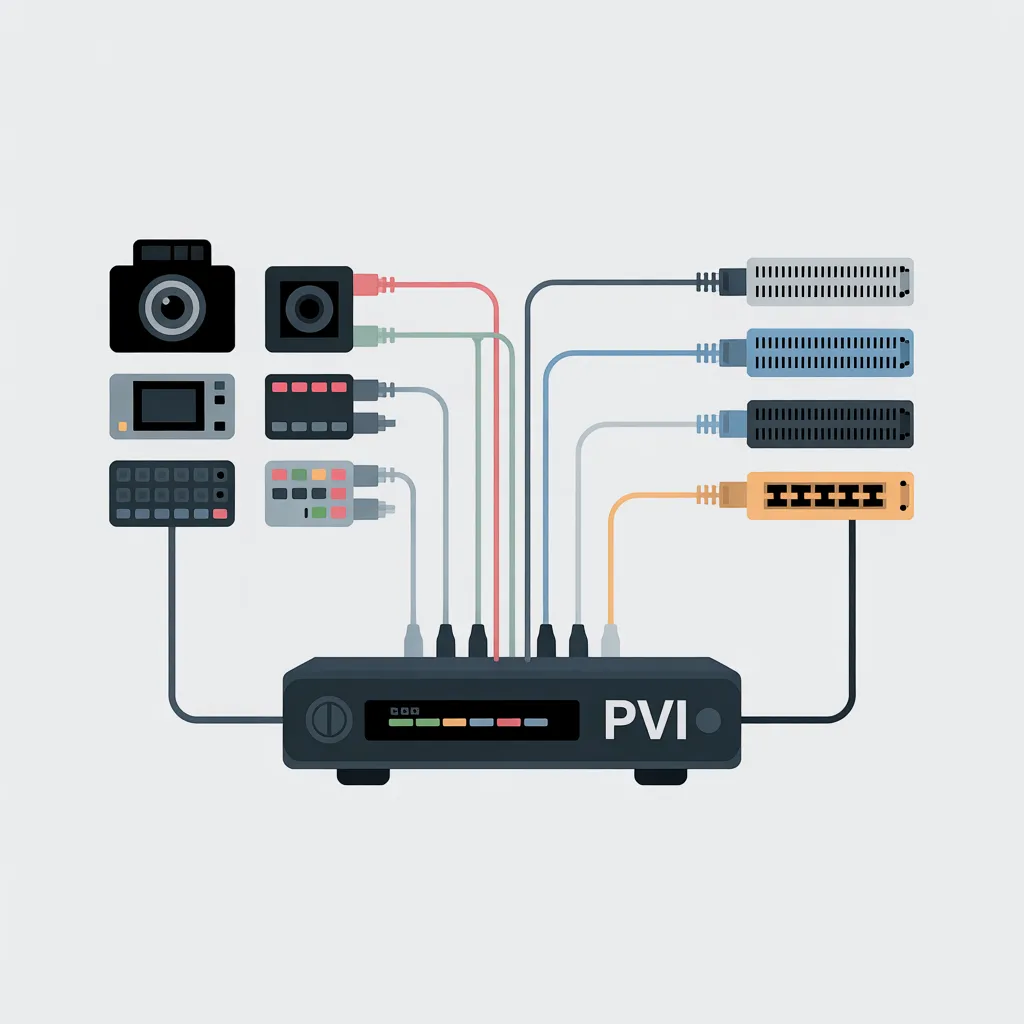
1. Video Input Sources
- HDMI cameras
- Satellite receivers
- Media players
- Live production systems
2. Encoding Settings
- Resolution (720p, 1080p, 4K)
- Bitrate (e.g., 2500 kbps–8000 kbps)
- Codec (H.264 or H.265)
- Frame rate (25fps, 30fps, 60fps)
3. Streaming Protocols
- RTMP (for live streaming platforms)
- HLS (for adaptive streaming)
- UDP/RTP (for local IPTV networks)
4. Network Configuration
- IP address setup
- Port forwarding
- Bandwidth allocation
Step-by-Step PVI IPTV Encoder Setup Guide
Step 1: Connect Your Hardware
Start by connecting your video source to the encoder:
- Use HDMI or SDI cables
- Ensure the signal is stable
- Power on all devices
💡 Tip: Always test your input source before moving to the next step.
Step 2: Access the Encoder Interface
Most PVI encoders provide a web-based interface:
- Connect the encoder to your network
- Find its IP address (via router or device screen)
- Enter the IP in your browser
Example: http://192.168.1.100
Step 3: Configure Basic Settings
Inside the dashboard:
- Set device name
- Configure time zone
- Update firmware if needed
Step 4: Adjust Encoding Parameters
This is the core of your PVI IPTV encoder setup.
Recommended Settings for Beginners:
- Resolution: 1920×1080 (Full HD)
- Bitrate: 4000–6000 kbps
- Codec: H.264
- Frame rate: 30fps
Advanced Optimization:
- Use H.265 for lower bandwidth usage
- Enable CBR (Constant Bitrate) for stability
- Adjust GOP size (usually 2x frame rate)
Step 5: Configure Streaming Output
Choose your streaming protocol based on your use case:
RTMP Setup (Popular for Streaming Platforms):
- Server URL:
rtmp://your-server/live - Stream key: Provided by your platform
HLS Setup (Best for Websites):
- Enable HLS output
- Set segment duration (e.g., 6 seconds)
UDP/RTP Setup (Local IPTV):
- Destination IP: e.g.,
239.0.0.1 - Port: e.g.,
1234
Step 6: Network Optimization
A stable network is crucial for IPTV success.
- Use wired Ethernet (avoid Wi-Fi)
- Ensure upload speed is at least 2x your bitrate
- Configure QoS (Quality of Service)
Step 7: Test Your Stream
After completing your PVI IPTV encoder setup, test the stream:
- Use VLC or IPTV player
- Check for buffering or lag
- Verify audio-video sync
Best Practices for PVI IPTV Encoder Setup
Optimize for Performance
- Avoid extremely high bitrates
- Match resolution with available bandwidth
- Use hardware encoding if available
Ensure Compatibility
- Test with multiple IPTV players
- Use standard codecs and formats
Maintain Security
- Change default login credentials
- Restrict access via IP filtering
- Use secure protocols when possible
Common Issues and Troubleshooting
1. No Video Output
- Check input cable connections
- Verify source signal
2. Buffering or Lag
- Reduce bitrate
- Upgrade internet connection
3. Audio Sync Issues
- Adjust encoding delay settings
- Check source device
4. Stream Not Accessible
- Verify IP and port settings
- Check firewall rules
Advanced PVI IPTV Encoder Setup Tips
Multi-Bitrate Streaming (Adaptive Streaming)
Create multiple streams for different devices:
- 1080p at 5000 kbps
- 720p at 3000 kbps
- 480p at 1500 kbps
This improves user experience across various internet speeds.
Integration with IPTV Middleware
To scale your IPTV system:
- Connect encoder to middleware platforms
- Manage channels and users
- Enable EPG (Electronic Program Guide)
[Link to related article on IPTV middleware setup]
Cloud Streaming Integration
You can connect your encoder to cloud services for global delivery:
- CDN integration
- Load balancing
- Failover streaming
[Link to external guide on cloud streaming best practices]
PVI IPTV Encoder Setup for Different Use Cases
1. Live TV Broadcasting
- Use low-latency settings
- Ensure stable input signals
2. Corporate Streaming
- Secure streams with authentication
- Limit access to internal networks
3. OTT Platforms
- Use HLS or DASH
- Enable adaptive bitrate streaming
SEO and Content Distribution for IPTV Streams
If you’re running an IPTV service, visibility matters.
- Optimize channel metadata
- Use descriptive titles and tags
- Promote streams on social media
[Link to SEO guide for video streaming platforms]
Maintenance and Monitoring
A successful PVI IPTV encoder setup doesn’t stop after configuration.
Regular Checks:
- Monitor CPU and bandwidth usage
- Update firmware
- Check stream health
Tools to Use:
- Network monitoring software
- Stream analytics dashboards
[Link to external monitoring tools resource]
Frequently Asked Questions (FAQs)
What bitrate should I use for IPTV streaming?
It depends on your resolution:
- 1080p: 4000–8000 kbps
- 720p: 2500–4000 kbps
Is H.265 better than H.264?
Yes, H.265 offers better compression, but requires more processing power and compatibility support.
Can I use Wi-Fi for IPTV encoding?
It’s not recommended. Wired connections provide better stability and performance.
Do I need a dedicated server?
For small setups, no. For large-scale IPTV services, yes.
Conclusion: Mastering PVI IPTV Encoder Setup
Setting up your encoder properly is the backbone of a successful IPTV system. From choosing the right input sources to fine-tuning encoding settings and optimizing your network, every step plays a crucial role.
By following this complete PVI IPTV encoder setup guide, you’ll be able to:
- Deliver high-quality video streams
- Minimize buffering and downtime
- Scale your IPTV infrastructure efficiently
Meta Description
Complete PVI IPTV encoder setup guide with step-by-step instructions, best settings, and expert tips to optimize streaming quality and performance.